Contents:
- What Is Botanical Printmaking with Real Flowers? (Direct Answer)
- Why Botanical Printmaking Captivates Modern Florists
- Key Benefits
- Essential Tools and Materials for Flower Printmaking
- Flower Choices
- Other Supplies
- Popular Techniques in Botanical Printmaking
- Flower Pounding (Hapa Zome)
- Eco-Printing
- Gelatin Plate Printing
- Step-by-Step Beginner’s Guide: Flower Pounding on Paper
- Materials:
- Instructions:
- Real-Life Inspiration: US Florists and Artists Elevating Flower Printmaking
- Caring for and Displaying Botanical Prints
- Display Tips
- Longevity
- Pull-Quote
- Botanical Printmaking vs. Traditional Floristry: A Quick Comparison
- FAQ: Botanical Printmaking with Real Flowers
- How long will a flower print last?
- Do you need special training to make botanical prints?
- Can I use store-bought bouquets for printmaking?
- What’s the difference between eco-printing and flower pounding?
- Is botanical printmaking safe for children?
- Ready to Start? Try a DIY Flower Print This Weekend
Botanical Printmaking with Real Flowers: Transforming Blooms into Lasting Art
Imagine pressing an armful of wildflowers, not just to keep a memory tucked between book pages, but to make a one-of-a-kind art print for your wall. Botanical printmaking with real flowers isn’t just a trend among crafters and florists–it’s a tactile, joyful process that celebrates nature in a uniquely personal way. From fresh garden cuts to farmer’s market finds, the process bridges floral design and fine art, letting anyone–green thumb or not–create lasting objects from ephemeral blooms.
What Is Botanical Printmaking with Real Flowers? (Direct Answer)
Botanical printmaking with real flowers is the process of creating fine art prints or visual artworks by using actual flowers and plant materials as printing tools. Techniques like flower pounding, eco-printing, and contact printing transfer pigments, shapes, and textures from real petals and leaves onto paper, fabric, or other surfaces, turning fresh botanicals into lasting images. This hands-on method preserves the natural colors and intricate details of flowers in creative, often unpredictable ways.
Why Botanical Printmaking Captivates Modern Florists
Botanical printmaking taps into both nostalgia and the contemporary love for hand-crafted, sustainable decor. The US floral market has seen a 14% increase in demand for personalized, nature-inspired art pieces since 2024, according to the American Institute of Floral Arts (AIFA). Local studios from Brooklyn to Portland are offering printmaking workshops, and customers are snapping up prints on platforms like Etsy and Society6.
Master florist and eco-printmaker Lena Tatum (AIFA, Certified Floral Designer) shares,
“Flower printmaking creates a real, tactile connection with the plant. The unpredictability is part of the beauty–no two prints are ever alike.”
Key Benefits
- Sustainability: Uses leftover or spent blooms that might otherwise be tossed.
- Personalization: Memorializes bouquets from special occasions–think weddings or anniversaries.
- Therapeutic Value: Engages hands and senses, similar to floral arranging or gardening.
Essential Tools and Materials for Flower Printmaking
Gathering the right materials is half the fun. Most can be found at craft stores or repurposed from your kitchen.
Flower Choices
Not all flowers print equally well. Opt for blooms with strong pigments (think pansies, violets, rose petals, marigolds, cosmos, and hydrangeas). Foliage like ferns, eucalyptus, and ginkgo leaves also yield striking results.
Top 5 Flowers for Vibrant Prints
- Pansies – intensely pigmented, easily pressed
- Marigolds – bold, sun-yellow pigments
- Rose petals – deep reds and pinks
- Coreopsis – bright oranges
- Bluebells – subtle, dreamy blues
Cost tip: Mixed market bouquets ($20-35 at Whole Foods) work perfectly and offer a mix of textures for printmaking.
Other Supplies
- Paper or Fabric: Watercolor paper (140 lb+), cotton rag, or pre-washed muslin.
- Pounding Tool: Rubber mallet or rolling pin.
- Protective layers: Parchment paper or wax paper.
- Board or hard surface: Wooden cutting boards are ideal.
- Tweezers and gloves: For handling delicate petals and avoiding staining.
- Fixative: Optional–UV spray (like Krylon for Art), especially if displaying in sunlight.
Popular Techniques in Botanical Printmaking
Florists and artists use several hands-on methods, each yielding unique textures and colors.
Flower Pounding (Hapa Zome)
Originating in Japan, this technique literally pounds pigment from fresh flowers onto a surface.
How It Works:
- Arrange flowers between two sheets of watercolor paper.
- Lay parchment on top; secure to avoid shifting.
- Gently but firmly pound with a mallet, transferring pigment.
- Peel back layers to reveal the print; allow to dry.
Tip from Lena Tatum:
“Use a soft touch for delicate petals. Too much force can blur details. Practice on scrap paper first!”
Eco-Printing
Eco-printing relies on heat and pressure to extract natural dyes from botanicals.
Steps:
- Lay flowers and foliage on fabric or paper.
- Roll the layered material around a stick or dowel (“bundle”).
- Tie tightly and steam over boiling water (90-120 minutes).
- Unwrap and rinse, revealing imprints left by natural pigment.
Eco-printing is favored by DIY wedding florists for making custom table linens and ribbons, especially with native US wildflowers like goldenrod and coneflower.
Gelatin Plate Printing
For a more controlled, graphic look, artists use a gelatin plate (like Gelli Arts, $25-35).
- Press flowers onto the gelatin plate.
- Roll ink or paint over petals.
- Place paper over the plate; press to transfer the image.
- Peel off to reveal detailed botanical impressions.
Step-by-Step Beginner’s Guide: Flower Pounding on Paper
Ready to make your first print? Flower pounding is beginner-friendly and needs only basic supplies.
Materials:
- Fresh flowers (see list above)
- 2 sheets of watercolor paper (9″ x 12″ recommended)
- Parchment paper
- Rubber mallet
- Hard surface (wooden board)
- Tweezers, gloves
Instructions:
- Lay one sheet of watercolor paper on your board.
- Arrange petals and leaves in a simple design (avoid overlap for best detail).
- Carefully lay the second paper on top.
- Cover with parchment paper to protect from tearing.
- Gently pound across the design, moving methodically.
- Stop and check periodically; adjust petals as needed.
- Peel back layers to see your print. Remove any stuck bits with tweezers.
- Lay flat to dry (1-2 hours).
- (Optional) Spray with UV fixative to increase longevity, especially for sunny rooms.
“The first print will always surprise you,” says Tatum. “Sometimes a violet turns deep blue, or a marigold gives off greenish tints. Let the process guide you.”
Real-Life Inspiration: US Florists and Artists Elevating Flower Printmaking
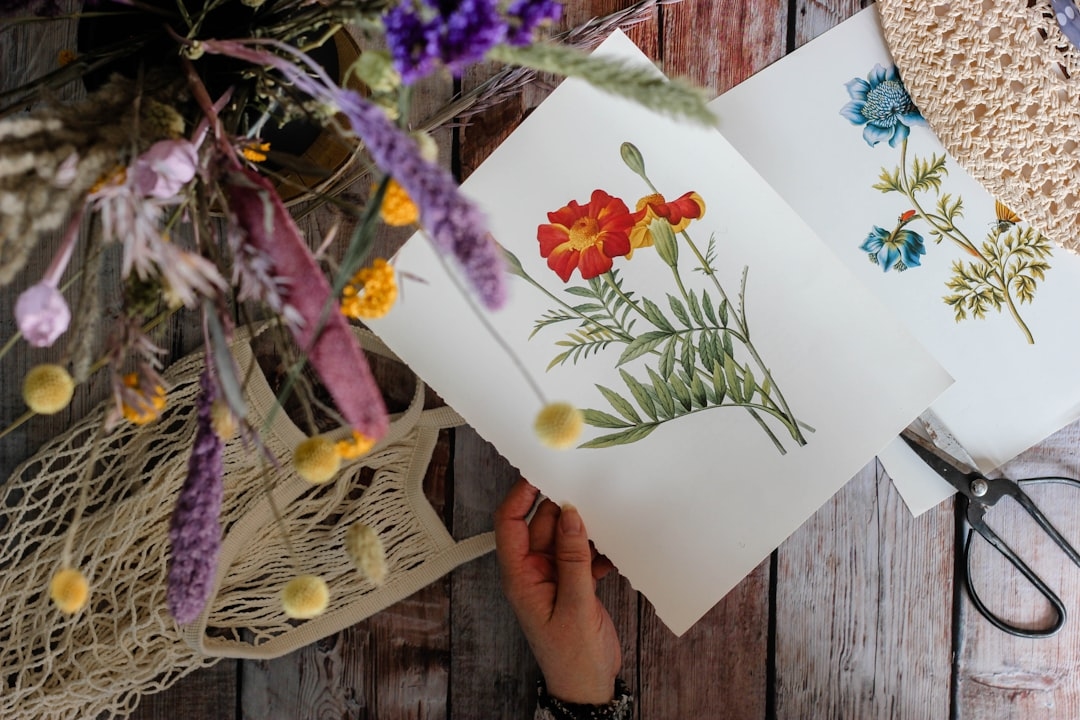
Across the country, floral studios and independent artists are integrating botanical printmaking into their offerings.
| Studio/Artist | Location | Signature Prints | Price Range |
|---|---|---|---|
| Wildroot Studio | Seattle, WA | Eco-printed scarves & wall art | $50-$400 |
| Petal & Press | Austin, TX | Custom wedding bouquet prints | $110-$250 |
| Lena Tatum | Brooklyn, NY | Flower pounding workshops, prints | $55-$180 |
| Golden Stem Art | Portland, OR | Framed mixed-media with wildflowers | $65-$300 |
Some send you a kit to capture blooms from your own backyard or special event–a trend up 29% since 2026, per America’s DIY Florist Report.
Caring for and Displaying Botanical Prints
Because these works use real plant pigment, they require slightly different care than traditional prints.
Display Tips
- Keep out of direct sunlight: Even with a fixative, natural pigments fade faster than commercial inks.
- Frame with UV glass: Museums use Tru Vue Optium Museum Acrylic–pricey, but blocks over 99% of UV rays.
- Avoid humid environments: Hang prints in living rooms or bedrooms rather than bathrooms or kitchens.
Longevity
Botanical printmaker Rachel Kim (Certified American Horticultural Society Educator) notes,
“With proper framing and care, botanical prints can last 10-15 years with minimal fading. For heirloom projects, always use acid-free backing.”
Pull-Quote
“A single pressed petal can outlast its bouquet–turning a fleeting gift into everyday art.” – Rachel Kim, AHS Educator
Botanical Printmaking vs. Traditional Floristry: A Quick Comparison
| Feature | Botanical Printmaking | Traditional Floristry |
|---|---|---|
| End result | Lasting artwork (prints/fabric) | Arranged fresh bouquets |
| Longevity | Years (with care) | Days to 2 weeks |
| Skills needed | Basic craft, creativity | Floral arranging, wiring, hydration |
| Cost | $10-$50 (DIY) | $45-$200+ (arrangements) |
| Environmental impact | Uses leftovers, low waste | Higher waste (unsold flowers, foam) |
FAQ: Botanical Printmaking with Real Flowers
How long will a flower print last?
With proper care–like framing under UV-protective glass and avoiding direct sunlight–botanical prints made with real flowers can last 10 to 15 years before noticeable fading occurs.
Do you need special training to make botanical prints?
No special certification is required. Basic flower printmaking can be done at home with common supplies and minimal artistic experience, though florists and artists offer workshops for advanced techniques.
Can I use store-bought bouquets for printmaking?
Yes, store-bought and supermarket bouquets work well for botanical printmaking. Choose blooms that look fresh and have vibrant, pigmented petals (avoid dried or wilted flowers).
What’s the difference between eco-printing and flower pounding?
Eco-printing uses heat and steam to transfer pigment from plant materials to fabric or paper, while flower pounding physically transfers pigment through pressure. Each method creates distinct visual effects and textures.
Is botanical printmaking safe for children?
Flower pounding and simple printmaking are generally safe for kids over seven, with adult supervision. Use gloves, especially with plants that might irritate skin.
Ready to Start? Try a DIY Flower Print This Weekend
Look around your kitchen or backyard for leftover blooms–or pick up a mixed bouquet from Trader Joe’s (usually $9.99). Spend an afternoon turning those petals into a piece of art you’ll treasure, gift, or frame. Once you’ve made one, you’ll see how a single fleeting bouquet can become an heirloom or conversation piece. And who knows? Your first humble print could bloom into a new creative habit, or even a side hustle.
If you’re curious to go further, book a local printmaking class or order a DIY kit online. Every petal has a story. Happy printing!